
How to Efficiently Manage Household Debris During a Major Renovation
Most renovation projects don’t fail because of bad contractors or budget overruns. They fail because nobody thought about where the debris was going until it was already piled in the hallway. Waste removal isn’t a cleanup task you schedule at the end – it’s a logistics problem that starts on day one.
Sort before you swing
Before you knock down a single wall or pull out the cabinets, do a "Three-Pile System" sweep of the entire area: keep, donate, discard. It’s rudimentary, but most homeowners don’t bother with this easy step and unnecessarily add to the amount of trash that pros will need to haul away. Anything that’s still structurally solid and functional – old light fixtures, cabinet doors, interior doors, appliances that work – goes in the donate pile.
This is about better cost as well as conscience. Pros get paid by weight and volume for taking away your waste. Every item that goes out in a charity truck is an item that you don’t have to pay for to have hauled away.
High-value materials and appliances get their own category. Copper piping, electrical wiring, and clean dimensional lumber can be sold reasonably to local recyclers or salvage yards. On a big remodel, that material can offset an actual chunk of your disposal costs. The key word is "clean". Mixed or contaminated material has much less value and can even be disqualified.
Set up a debris zone before day one
Identify a central part of your property – one that workers can reach from both the interior of your home and the exterior driveway – as the central debris zone. Ideally, this location will have a canopy to help protect the waste from rain. Sound like an eccentric prepper? It’s a simple space and money saver. Rain-soaked waste is heavier waste, and most disposal containers have strict weight-bearing limits. Overweight fees tend to blunt that post-reno glow.
The zone should be clear of active work areas to prevent trips, but close enough to the action that workers aren’t adding a hundred man-hours just carrying debris. Having a dedicated zone for your debris not only keeps the renovation sites clear, but also makes it easier for professionals offering Junk removal in Colorado to get their vehicles close enough to pick up the waste and take it away once you’ve accumulated a fair amount of it.
Don’t wait for a full load to schedule pickup
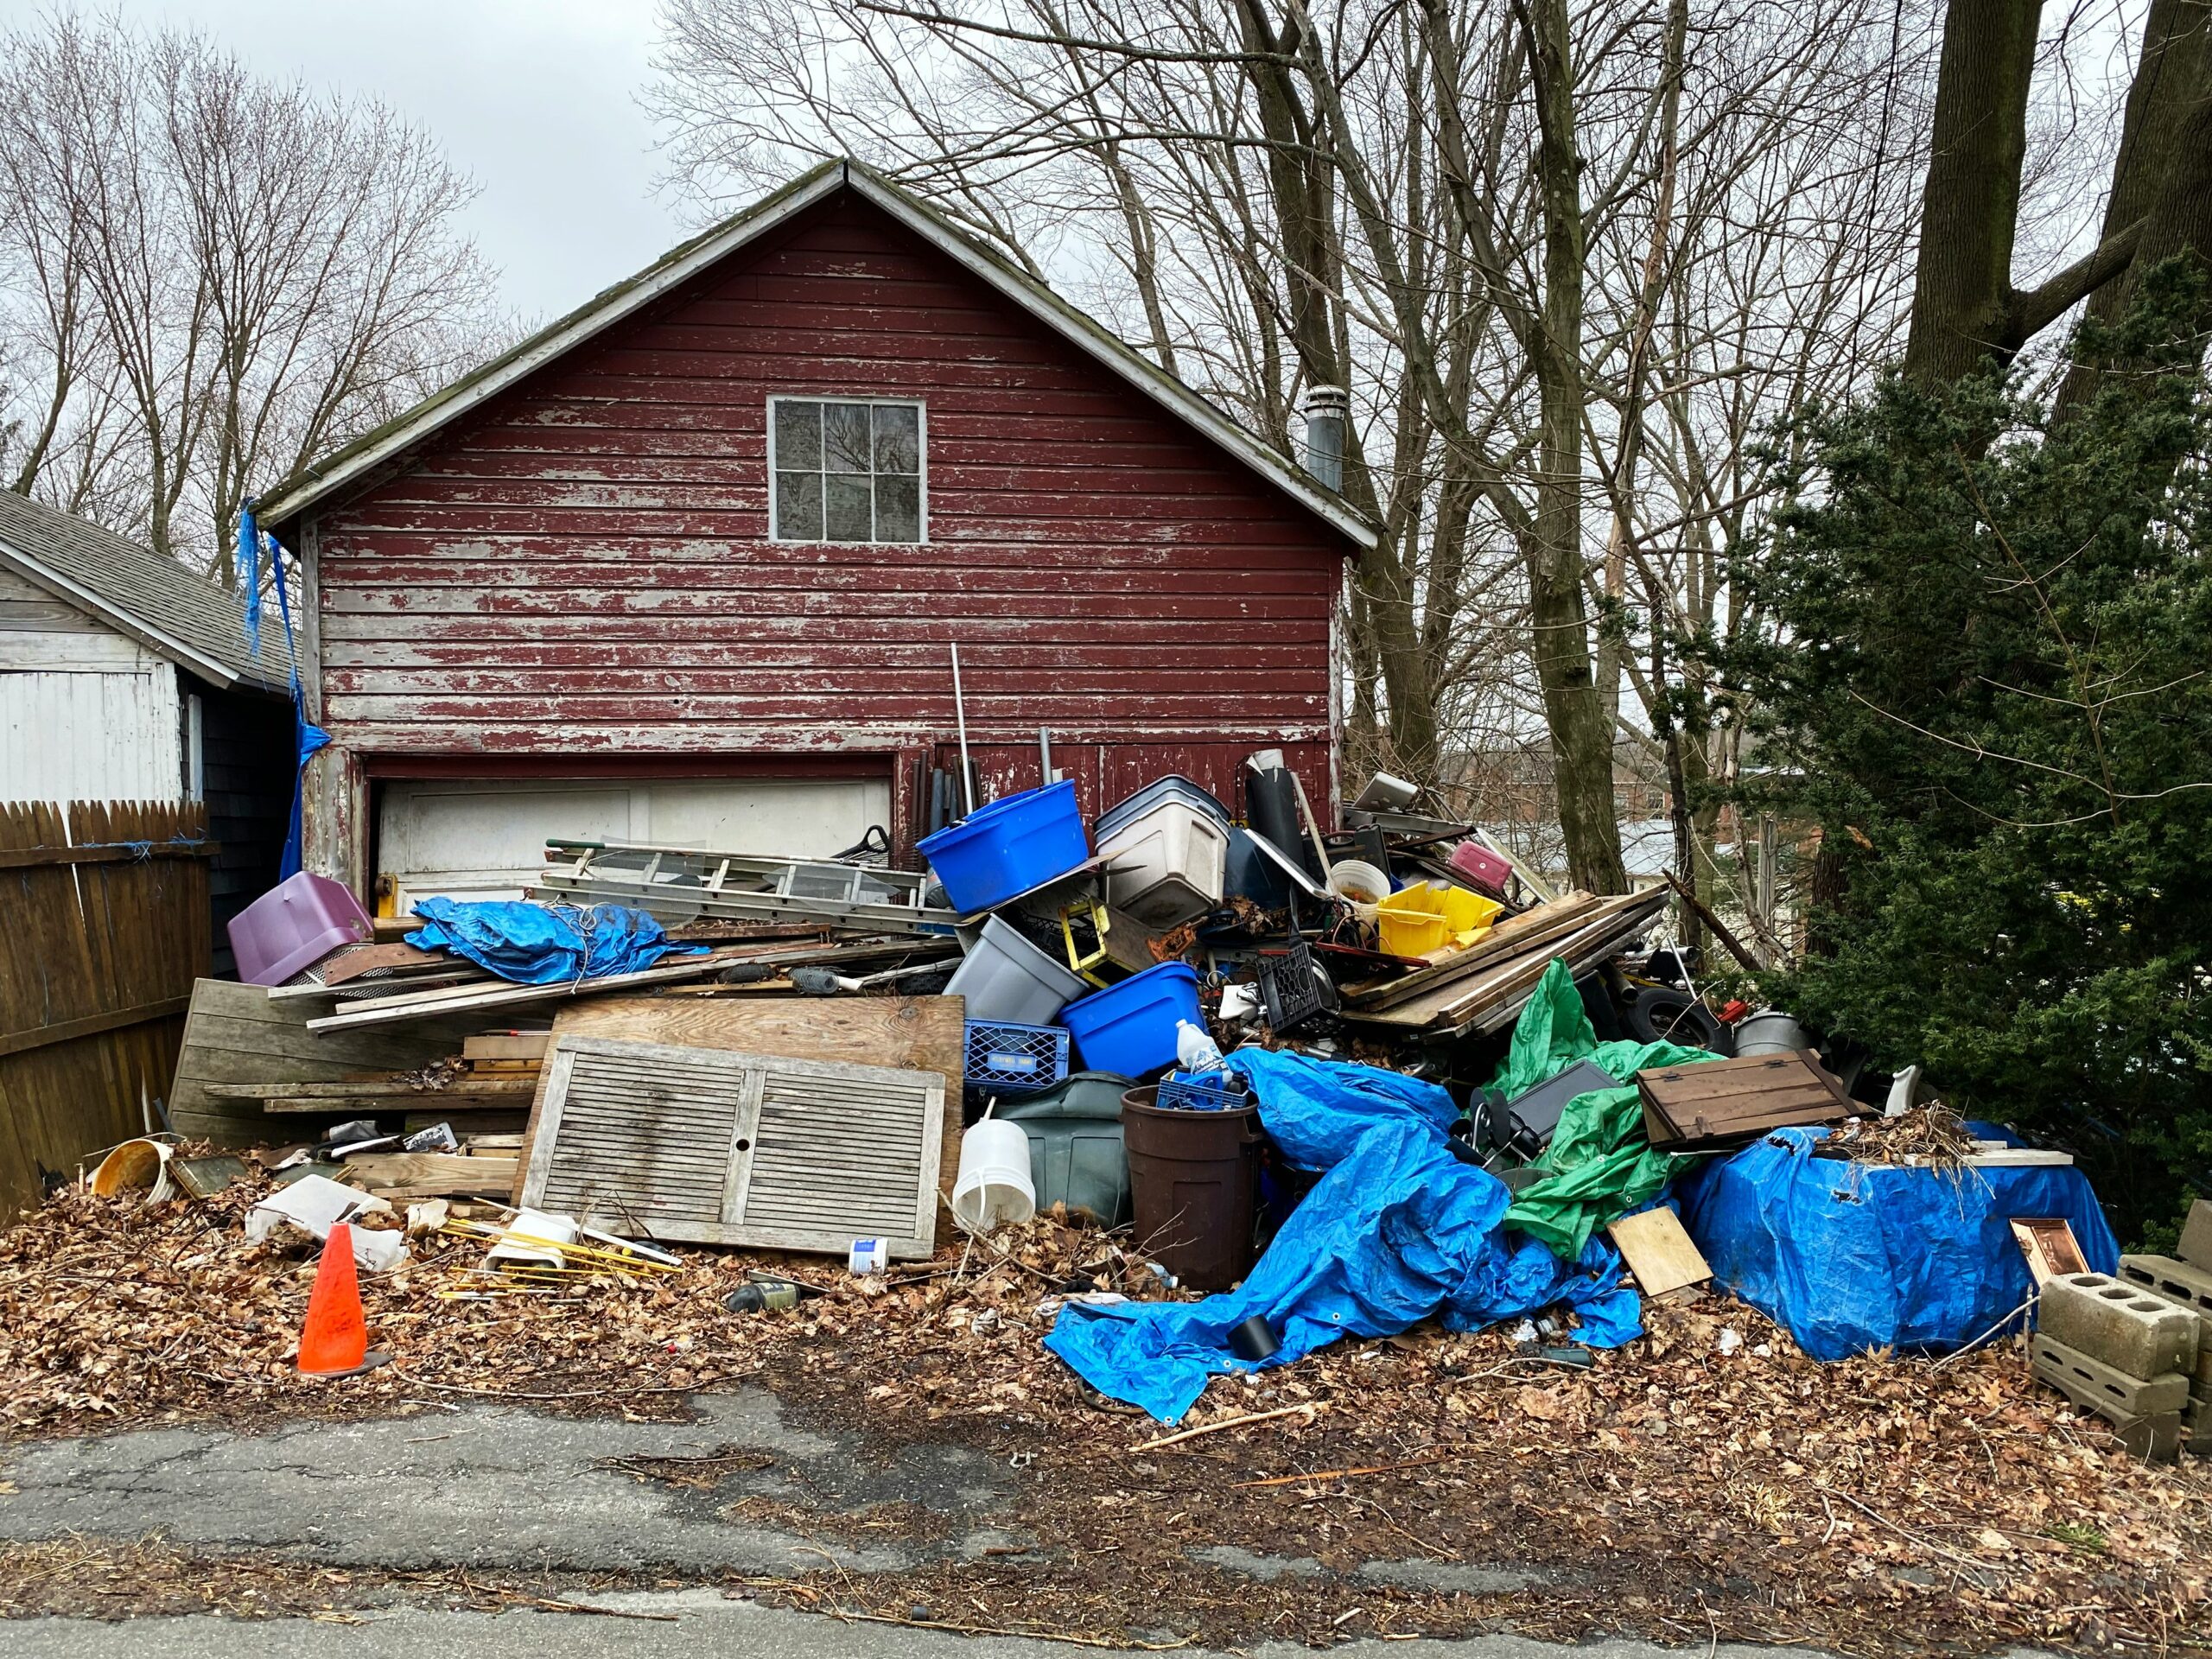
The natural response is to wait until the work is completed and then remove everything at the same time. Yet, this is not the best decision. Waste materials will create fire risks, block access to emergency exits, and reduce the productivity of every worker. For instance, a carpenter needs to carefully walk over debris before starting to work on a wall if it is present.
Instigate a smarter approach; plan for multiple, phased pickups. Organize one shortly after rough demolition, a second partway through the job after stripping out the trim, doors, and windows, and a final one for cleanup at the very end. This process ensures that every phase of work remains as efficient as possible and that the final day barrage of arduous cleanup is eliminated.
Homeowners who have gone on to the second stage of working on a property – the hauling out of heavy, construction and demolition (C&D) materials such as concrete, tile, drywall, flooring, and sometimes old cabinets, should also skip municipal services. There’s no point filling up city-issued bags with this sort of material or piling it up by the roadside. It needs to be taken to a special facility and local junk removers can provide a one-trip solution.
Handle hazardous material separately
Items like lead paint, asbestos, and chemical solvents are not included in the waste you normally generate. You can’t dispose of them in a roll-off dumpster, take them to a transfer station along with your drywall, or even transport them the same way. Hazardous materials require a specific disposal stream and can pose significant liability and health risks if they’re intermingled with standard C&D waste inadvertently exposed to humans or the environment.
When in doubt, have your home tested for hazardous materials and at a minimum make sure your crew is aware of items which are hazardous. Disposing of hazardous items the right way doesn’t cost that much more, especially when you’ve budgeted for it. Cleanup and legal fees after the fact can cripple a project and a budget.
Architectural salvage changes the math
Large and heavy items such as kitchen cabinets, vanities, and appliances can be incredibly difficult to remove yourself. Not to mention, you’ll put your back and walls at risk if you try. However, if you’re able to get them out before the renovation begins, you might be able to donate or sell them to a salvage organization, which will save you time and money in the long run.
The site you run reflects how the job will go
A clean construction site is a construction site where everything runs more smoothly. Efficient waste management during construction needs proper preparation, and it needs dividing the project into reasonable stages so materials can be moved off-site as fast as possible. Plan it early, schedule it in phases, and don’t let material accumulate past the point where it starts running the site instead of you.



Leave a Reply